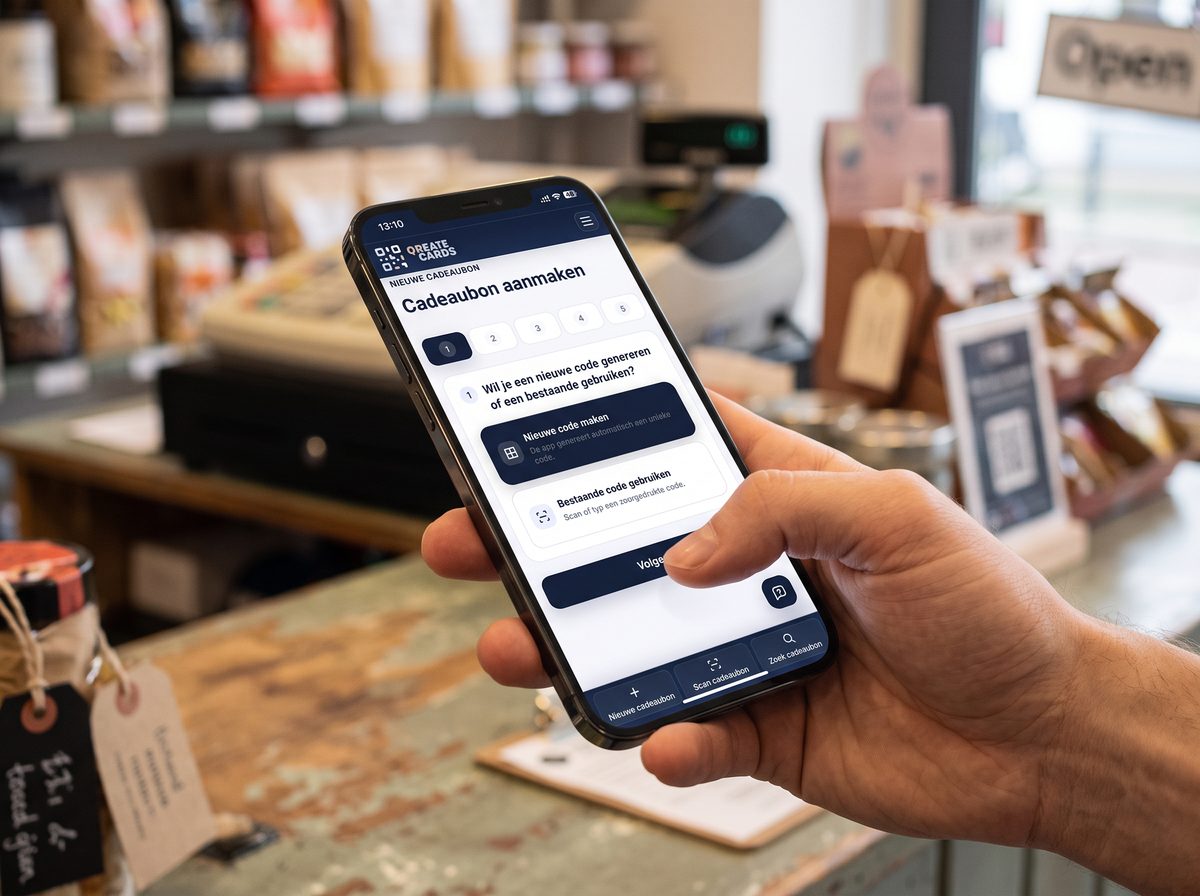
Follow these steps in order. Screens may look slightly different depending on your account settings.
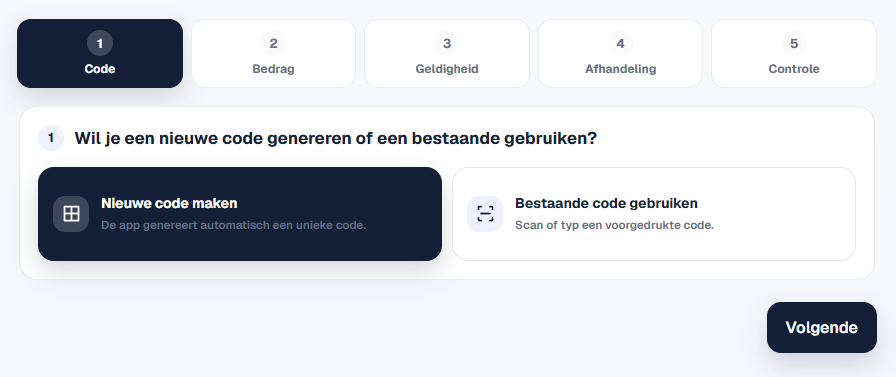
Choose a new or existing code
Click the plus button at the top of the dashboard or on the Gift cards page. Normally, choose “Create new code”. Use “Use existing code” when, for example, you work with pre-printed gift cards or stickers.
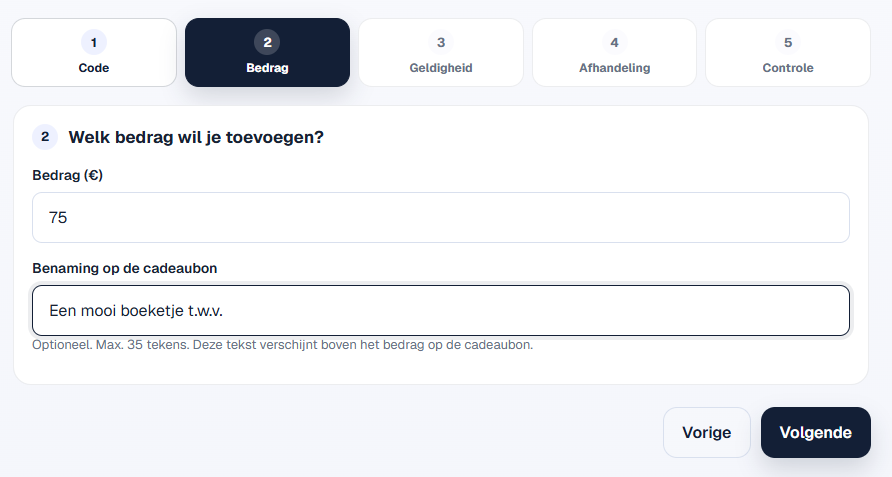
Enter the amount and name
Choose the gift card amount. You can optionally enter a name; it will appear on the gift card if the selected template supports it.
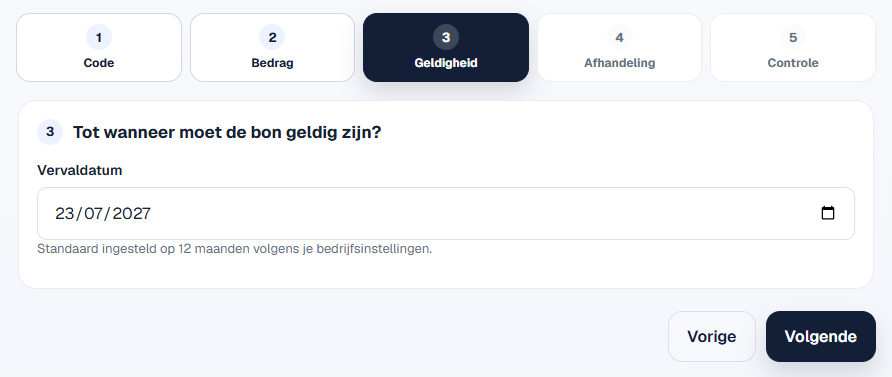
Check or adjust the validity period
The default validity period from your settings is filled in automatically. You can adjust it for this specific gift card.
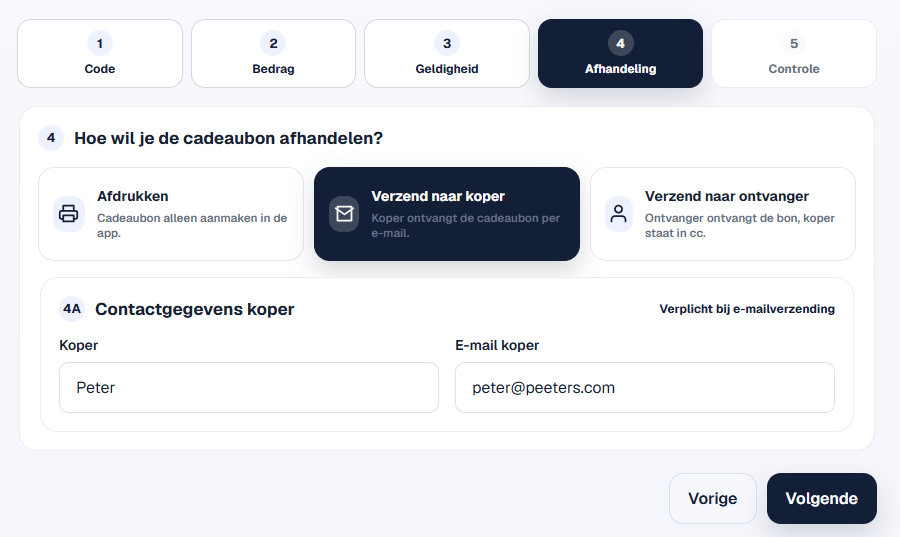
Choose how to use the gift card
Choose whether you want to print the gift card or send it by email to the buyer and/or recipient. Even if you send the gift card by email, you can still print it later.
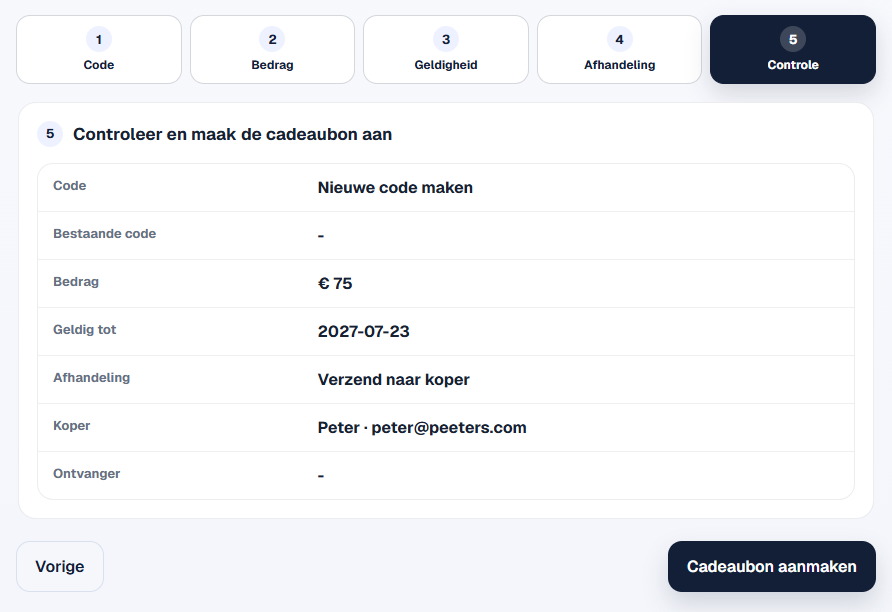
Review and create the gift card
Check all details and click “Create gift card”.
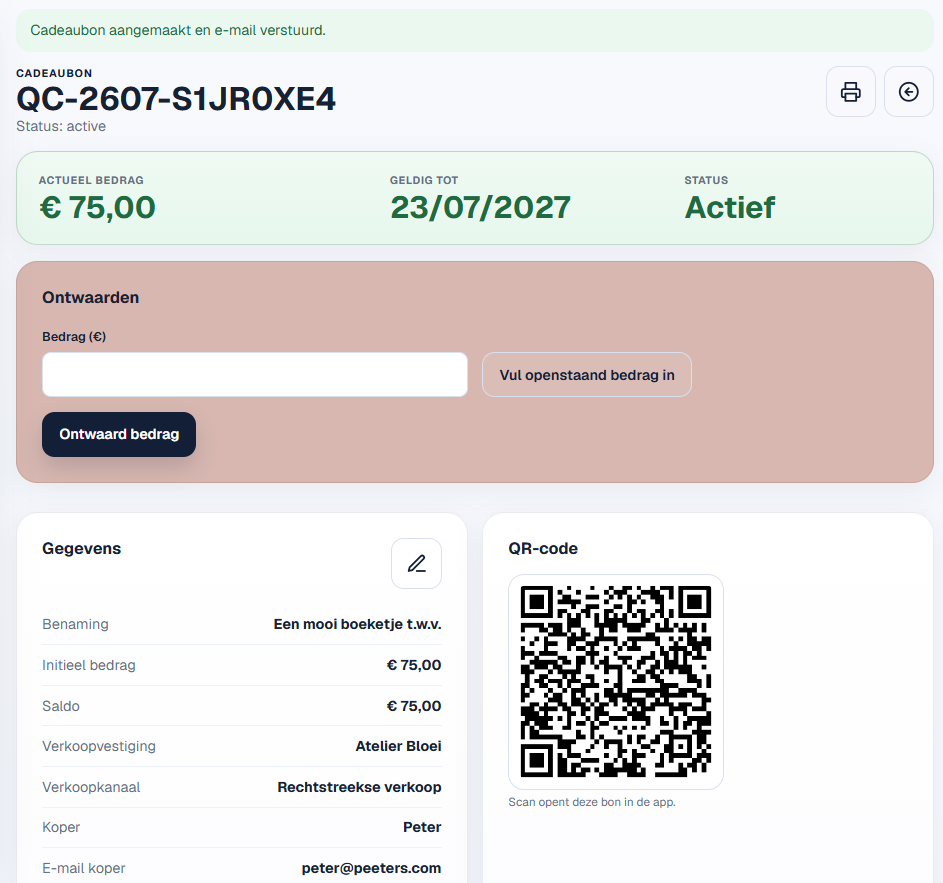
Open or print the gift card
After creating it, all information appears on screen. Click the printer icon to open the gift card as a PDF and print it if you wish.
Work wherever you are.
These screenshots show the desktop experience. You can also perform every action in this guide in your smartphone browser or in the QReateCards app.